
Energy Storage Cabinet Supplier Checklist for Safer Industrial Power Management
2026-11-16
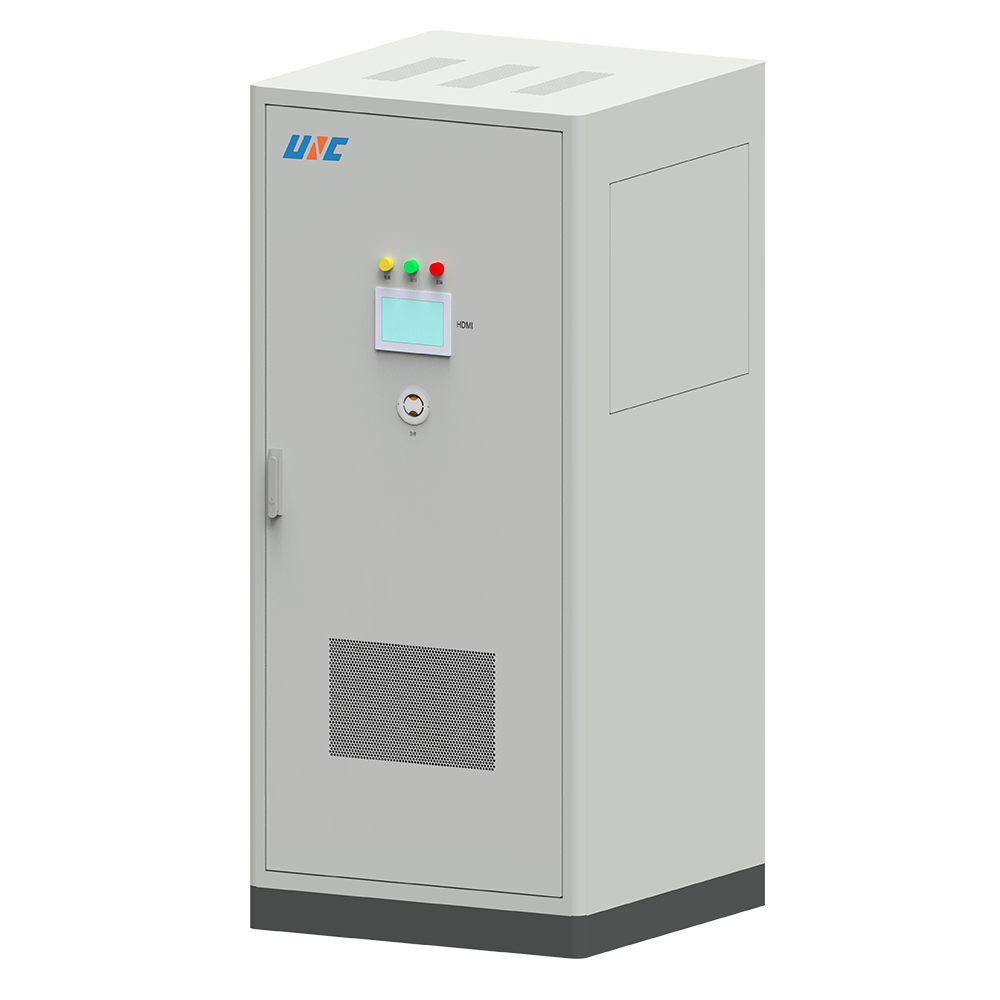
Industrial power management rarely fails all at once. It frays at the edges: a cabinet that runs hotter than expected, a supplier whose compliance documents never quite arrive, or an enclosure that wasn’t built for the duty cycle it actually sees. That’s why the energy storage cabinet supplier checklist matters as much as the battery chemistry itself. In this post, we break down the practical checks that separate safer long-term operation from a costly field failure—and show how UNC approaches these risks at the cabinet level.
Push for Raw Thermal Runaway Test Footage, Not Summary Slides
When a cell enters thermal runaway, a few summary slides cannot capture the real sequence of events. The raw video keeps the rhythm of venting, the order in which cells fail, the direction of smoke, and the speed of heat transfer across the pack. Slides tend to smooth that chaos into clean curves and tidy takeaways, but the trimmed moments often hold the most useful clues about failure modes.
Ask the test lab for uncut recordings from every available angle, at normal speed, along with thermal camera views and audio. Even shaky or partially obscured footage lets engineering teams step through frame by frame, match observations with temperature and voltage traces, and catch details that never made it into a report. A small spark or a barely visible case bulge at a specific moment can change the way protective design choices are judged.
Insisting on primary footage also avoids repeated testing and internal debates later. Different teams can pull the evidence they need from the same recording instead of relying on someone else's secondhand interpretation. The unedited material becomes the shared record for failure analysis, simulation checks, and safety reviews.
Ask How the BMS Reacts to One Bad Cell at 3 a.m.
At 3 a.m. the pack is quiet, but the BMS is not exactly asleep. A single cell starts drifting low while its neighbors hold steady, and the system notices before the voltage gap becomes dramatic. It doesn't send a dramatic alarm right away; it first checks whether the reading is real, compares it against recent history, and begins throttling the charge or discharge rate so the weak cell isn't pushed further.
Once the bad cell is confirmed, the BMS quietly rebalances what it can and instructs the pack to work around the problem. If the cell can't recover, the system may keep it out of the energy path, shed nonessential loads, and tighten the safe operating window for the rest of the string. The goal at that hour isn't to wake anyone up—it's to keep the failure boring.
By morning, the logs show exactly when the cell drifted, what the surrounding modules did, and which thresholds were crossed. That record usually matters more than the immediate warning, because a three a.m. failure caught early is just a maintenance note instead of a stranded vehicle or a dark building.
Make the Supplier Match the Enclosure to Your Actual Conditions
A standard catalog enclosure rarely fits the realities of a specific installation. Ambient temperature swings, airborne dust, washdown routines, salt exposure, or the need to mount the box on a vibrating machine all change what the housing has to do. Before settling on a model, list the conditions the enclosure will actually face rather than relying on a generic NEMA or IP rating alone. Then ask the supplier to adjust the material thickness, gasket type, finish, and mounting points around those conditions.
This step matters most when the environment is uneven: one side of a facility may be cool and clean while another is hot, oily, or periodically pressure-washed. A supplier that treats the enclosure as a set of variables can reinforce corners, move cable entries away from standing water, add breathable drains without letting insects in, or switch from painted steel to a UV-stable polycarbonate. Those small changes often make the difference between a housing that survives years and one that fails after the first seasonal shift.
Work from your real operating data rather than assumptions. Give the supplier the highest and lowest temperatures measured near the installation point, the cleaning chemicals used, the expected vibration, and the type of cable glands or conduit already in place. That way the enclosure is built around your conditions instead of forcing your equipment into someone else's generic design.
Look for Arc Flash Boundaries That Allow Live Work
The first practical step is rarely the most obvious one: before any tool touches an energized conductor, someone has to figure out whether the work can be done safely while the equipment stays live. That decision hinges almost entirely on where you stand relative to the arc flash boundary. If the task puts you outside that boundary, the math changes. You’re no longer dealing with a worst-case skin burn scenario, and the discussion shifts from “what can go wrong” to “what is actually possible from this distance.” Too many teams skip this step and either overprotect for a hazard that isn’t present or underestimate one that is.
Practical site assessments often reveal that the boundary printed on a label is more conservative than the actual working position requires. A common example is racking a breaker from a remote operator or using extended hot sticks while standing well behind the calculated distance. Here the incident energy drops off dramatically with distance, sometimes below what would justify full arc-rated gear. The key is to verify that distance with a proper calculation for the specific task and the specific equipment, not to eyeball it or assume the label covers every job. When the working position can be maintained outside the boundary for the entire task, live work becomes a much more reasonable conversation.
That said, checking the boundary isn’t a one-time box to tick. Work positions shift, tools slip, and a helper may instinctively step closer to hold a flashlight or read a meter. The boundary only matters if everyone on the crew respects it from start to finish. Mark the floor with tape if needed, use physical barriers, or assign a spotter whose only job is to call out when someone drifts too close. A boundary that exists on paper but gets ignored in the field is worse than no boundary at all, because it creates a false sense of control while the real exposure quietly grows.
Require Isolation Points That Keep Critical Loads Online
Isolation points do more than satisfy a spec line. They create a controlled break between upstream gear and downstream loads, so a fault or maintenance event does not force you to drop everything. Specify wrap-around bypasses at UPS modules, external maintenance bypasses at PDUs, and individual branch circuit disconnects wherever a single device failure could take out an entire rack row.
Placement and switching sequence matter just as much as the hardware itself. The isolation point should allow a make-before-break transfer, or at least a clearly interlocked path, to move loads onto an alternate source without a visible blink. Give the operations team a short, written sequence for each location. That turns a rarely used bypass into a procedure people can execute under pressure without guessing.
Trace Critical Parts Back to Their Batch, Not Just the Brand
Tracing a component back to its brand often creates a false sense of security. Two units from the same manufacturer can be built weeks apart, with different raw materials, different line adjustments, or different suppliers feeding into the final assembly. When a failure occurs, knowing the logo on the casing tells you almost nothing about the actual metallurgy, firmware revision, or seal compound inside that specific unit.
The batch record is where the real story lives. A batch captures the exact production window, the specific lot numbers of incoming materials, the calibration state of the equipment, and any deviations noted by operators. If a bearing seizes or a circuit board delaminates, comparing batch codes lets you determine whether the problem is isolated to one heat of steel or one reel of capacitors, rather than condemning an entire brand line.
This shift in focus changes how maintenance teams store parts and how they investigate failures. Instead of asking "Who made this?" they start asking "When was this made, and what else came from that same run?" The answer often reveals that a supplier quietly changed a coating formula or a plating thickness between batches, even though the part number stayed identical on the invoice.
FAQ
Start with cell chemistry and thermal runaway containment, not just cabinet price. Ask for test reports from UL 9540A or equivalent, check whether the cabinet design isolates a failing module, and verify that the supplier can document fault propagation limits under real load profiles.
Look for derating curves, active cooling redundancy, and real temperature logs from pilot installations. A credible supplier will share thermal imaging or sensor data from full discharge and charge cycles, not just nameplate ratings.
UL 9540 and UL 9540A in North America, IEC 62619 and IEC 62477 elsewhere, plus local fire and grid codes. Certifications should cover the complete cabinet as installed, including busbars, fuses, and communication wiring, not only the battery modules.
Ask whether the suppression system is integrated and tested with the battery management system, how the cabinet vents gases, and what clearance zones are required. Also request an emergency response guide that plant crews and local fire departments can use during a thermal event.
It matters a lot. Visit the assembly line or request a live video audit. Check cell sourcing, welding consistency, insulation testing, and traceability records. A cleaner, more controlled assembly process usually predicts fewer latent failures later.
Define mandatory remote monitoring parameters, alarm response times, firmware update responsibility, and annual inspections. The contract should state what data the supplier can access and require a clear escalation path when a battery string is taken offline.
Model energy throughput, round-trip efficiency, cooling power consumption, spare parts, and decommissioning over 10 to 15 years. Then weight safety features that lower risk, such as better cell matching, stronger enclosures, and more conservative state-of-charge windows, rather than choosing the lowest upfront price.
Vague answers about thermal runaway, missing test data, no local service team, poor documentation around firmware vulnerabilities, and cabinets that cannot be serviced without shutting down the whole system. Also watch for suppliers that promise custom safety work without evidence of prior field deployments.
Conclusion
Suppliers often present thermal runaway results as clean summary slides, but that tells you very little about how a cabinet actually fails. Insist on raw test footage and watch the full event: cell venting, gas release, relief panel response, and how long it takes for smoke or flame to appear outside the enclosure. Then press on the BMS logic. A useful answer is not 'we monitor every cell,' but a specific walkthrough of what happens when one cell collapses at 3 a.m., how quickly the string is disconnected, what alarms are raised, and which loads lose power first. The goal is to confirm that a single bad cell does not quietly escalate into a cabinet-level thermal event while the facility is unattended.
Site conditions deserve equal weight. If your cabinets sit in a humid or dusty plant, the enclosure rating should be proven against that environment rather than a clean lab baseline. Check arc flash boundaries with live work in mind, and ask for an isolation layout that lets you lock out a faulty branch without dropping critical loads. For parts traceability, brand names are not enough; the supplier should connect cells, fuses, contactors, relays, and firmware versions to a specific batch and tie them to the cabinet serial number. That level of record keeping makes warranty claims and failure investigations far more actionable, and it also gives your maintenance team a clear path back to the source when a defect pattern appears.
Contact Us
Contact Person: Manager Leng
Email: [email protected]
Tel/WhatsApp: 8613764878967
Website: https://www.unc-energy.com